As you know, my daughter turned one last week :) big milestone, calls for big celebrations! Her actual birthday was spent at home with the family - and a little trip to the playground. For her cake I made a bear (she has a favourite teddy bear who has to go everywhere with her). I used my favourite chocolate cake recipe - favourite because it always has a fudgy taste - although I didn't have any white wine vinegar (should always make sure you have correct ingredients before beginning, not part way through!), so I ended up adding a bit of white wine vincon. The icing took a bit of practice but I think I got it in the end. The girls were quite impressed with it, though the icing was their favourite part!
Ok so I know there could have been some more definition on the bear, but I was having enormous troubles getting the writing fudge to stick!
Moving on to Saturday. I spent the majority of the day in the kitchen preparing for the festivities the next day. My first thing to make was cupcakes. I used my hokey pokey cake recipe, but split it into cupcakes instead. Batter was much thicker than my usual cake mix, but it still seemed to work ok, just a bit more of a 'crust' on top. I also made the mistake of under-estimating the gap between oven racks! Yes. I put them too close together and the second lot ended up with a scrape mark across the top of them - nothing a bit of buttercream can't fix!. I still had some leftover icing from the cake so I brought it back up to room temperature and gave it a mix with a fork - probably should have beaten it though. It wasn't quite the right consistency so ended up breaking a bit when I was piping it - but by the time I was up to that part, I was about ready to give up, so just pushed on through with it anyways - I mean, that's what fondant decorations are for right??
And this time, I have to say, the fondant behaved much more to my satisfaction :)
So this time I used the gum powder with the fondant and it did seem to make them easier to model, so will continue to do so in the future.
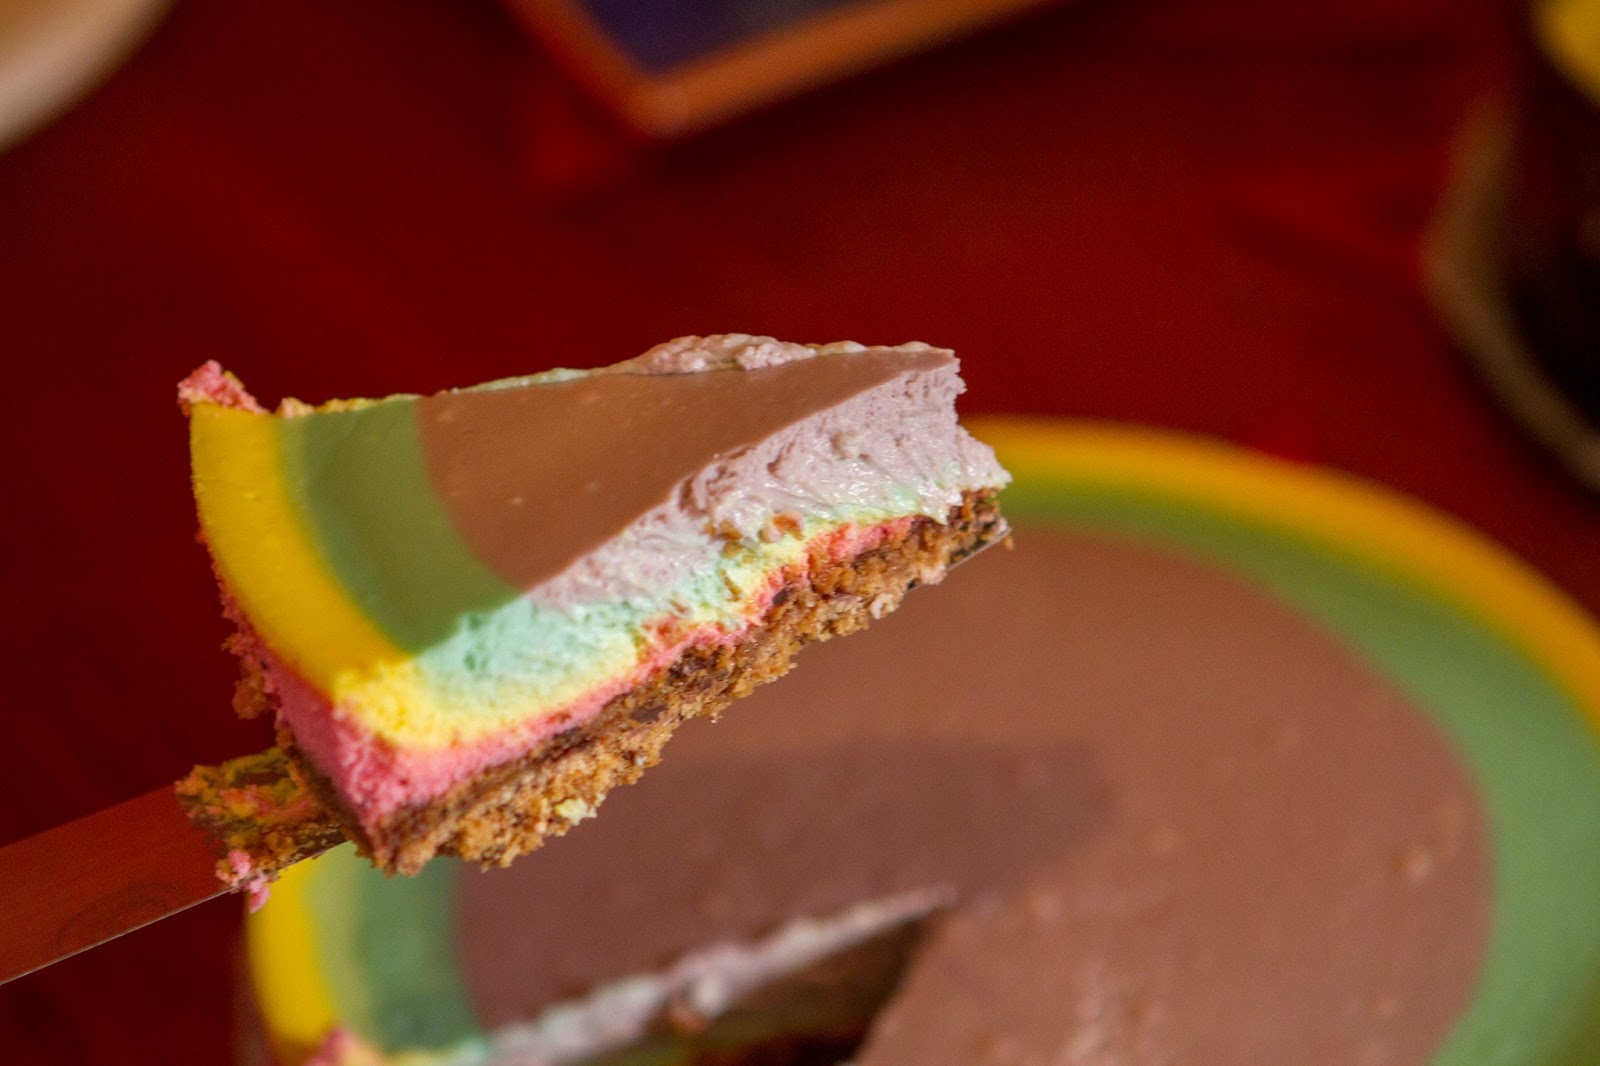
Now the part I am most proud of ... CHEESECAKE!!!!! Is your mouth watering yet? If you're anything like me, you will love a good cheesecake, and this is certainly a good one!
http://www.tablespoon.com/recipes/rainbow-cheesecake-recipe/1/ <this is the link to recipe I used
Ok, so in the recipe, it says graham crackers - which here in NZ we don't have - but I used digestives/choc wheatens. I used two packs, which is probably more than needed, but I decided to split it between two pans (for two reasons - lots of people will be coming to eat this, and I really didn't see how that amount could possibly fit into just one tin).
So the other thing I did differently from the recipe, is that instead of a waterbath, I placed a baking dish of water on the shelf below the cheesecakes and this worked just fine - and then you have no worry of water seeping into the tin.
Now I know when you look at the recipe, you will be thinking "Wow! That's a lot of cream cheese!" not to mention all the other goodies in there, but trust me - it is sooo worth it! This is one of the creamiest cheesecake recipes I've ever tasted! And, the recipe is correct, it would all fit into the one pan - and the colours would work slightly better then - but you really don't need it to be that thick.
See how creamy and awesome it is??!! The top pic is just the cream cheese, and the bottom pic is with the sour cream, cream and eggs added.
This is what my bowls looked like once I had divided the mix up - It said 6 bowls but I thought 5 was enough. I also flavoured my colours: Blue - Blueberry, Pink - Cotton Candy, Purple - Tutti Frutti, Yellow - Lemon, Green - plain
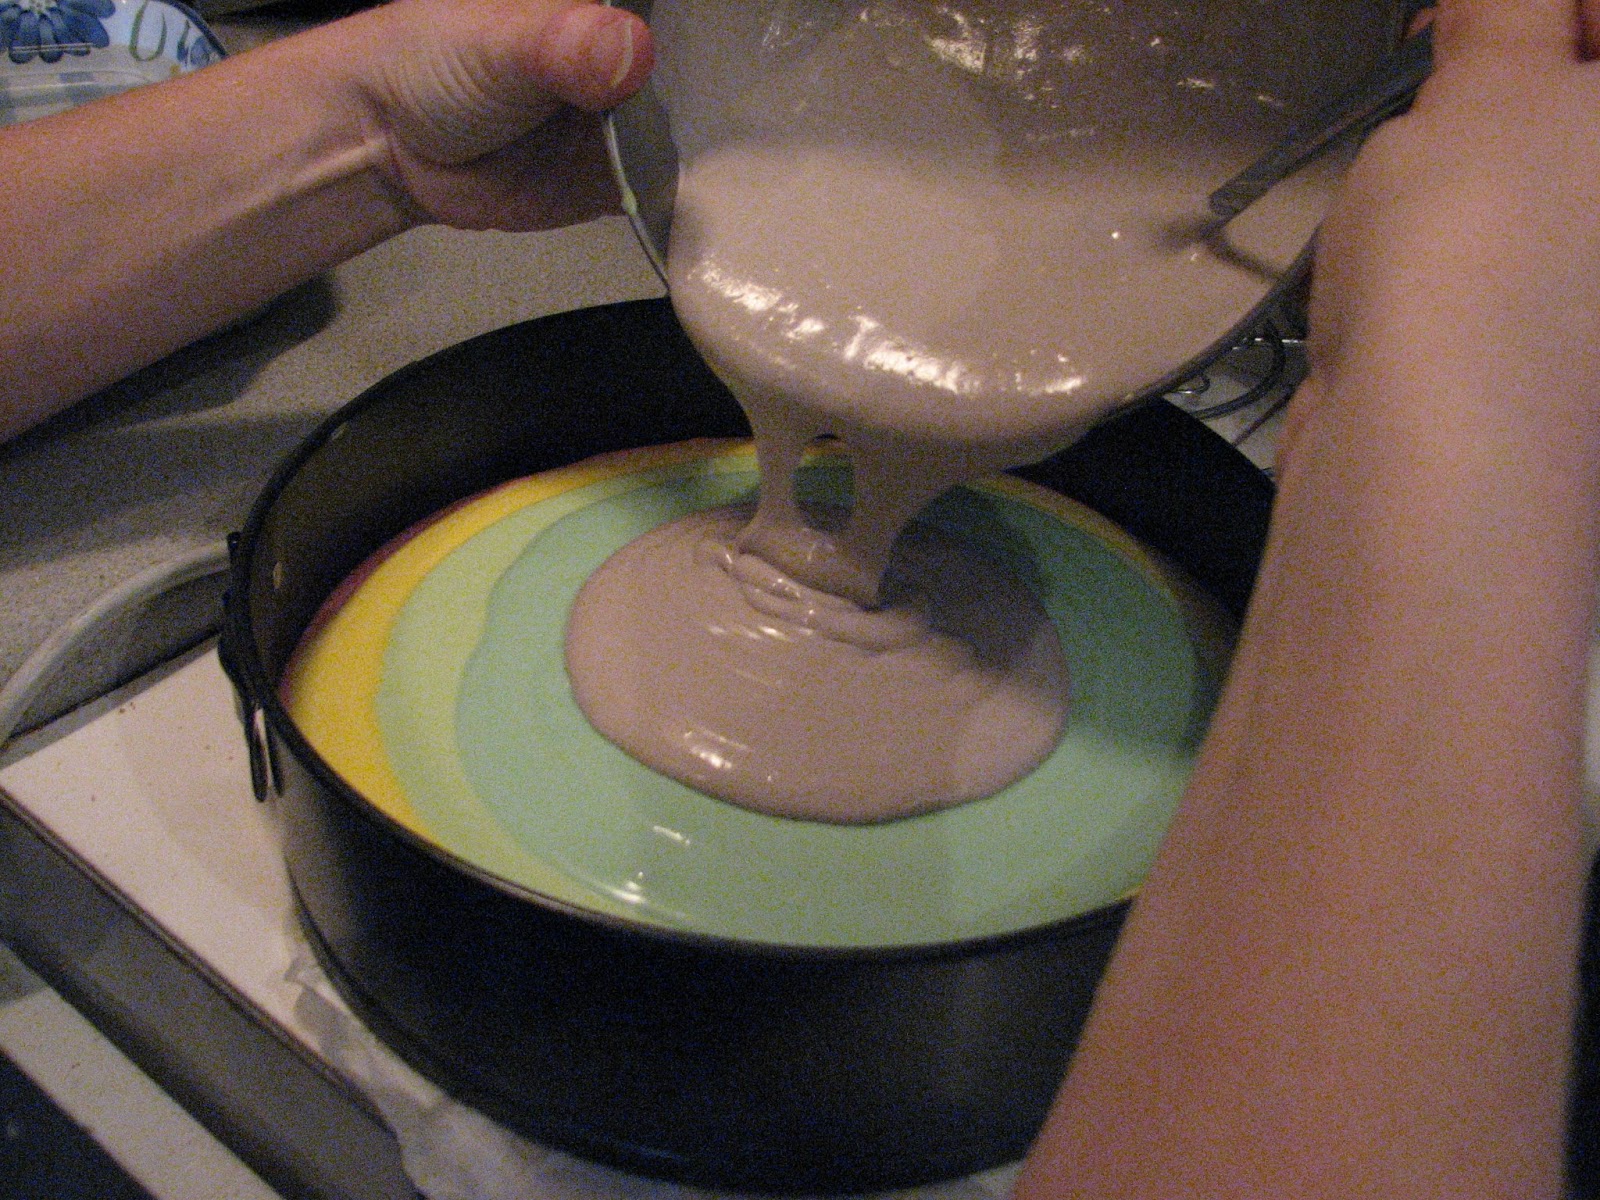
Now the fun part - Pouring!
So obviously you have to keep pouring in the centre to get the effect. You also need to pour quite slowly so that the colour doesn't take over the previous one. I found that I needed to move the pan rotationally to even it out a bit. I think if you were using the entire mix in one pan instead of dividing it, that the colour effect would possibly stick out more and be thicker chunks of colour too, but I'm still happy with how it turned out.
And so ended my Saturday of baking. Onwards Sunday! More kitchen time for me! Damn I'm a good mum :)
Sandwiches - check, cocktail sausages - check, punch - check ... come on! I was a cooking machine, I had to have something to reward myself! Yeah yeah, I know, the joy of seeing people enjoy my food, blah blah blah - that too :)
Vege rolls - like sausage ones, only meat free. So simple to make! Choose your veges - carrot, potato, pumpkin, brocolli, courgette etc and cut/grate into little cubes. Put in pan and just cover with water. Boil for 3-4 minutes then drain and put in a bowl with about 2C cheese and mix, then cool. Once cooled, place along edge of puff pastry sheets and roll up, sealing with water/milk, cut into pieces and bake! Great with sweet chilli sauce.
And of course, it wouldn't be a party without Hot Cheesy Bread Dip! I was given this recipe a few years ago by one of my Dads friends. It is ... I'm gonna say it ... Amazeballs! I always have people asking for the recipe. So here goes ...
1 Vienna Loaf
Capsicum 1 green and 1 red - I normally use half of each
2 ham steaks (or diced bacon, ham)
3Tbsp Mayo
1 1/2 Tbsp Lemon Juice
pinch of garlic salt
2 tubs cream cheese (or you can use 1 tub and then mix in some grated cheese - about 1C)
Cut top of loaf and hollow out.
Mix all other ingredients together and spoon into loaf
Put lid back on and wrap in tinfoil
Bake in oven at 150 C for 2 hours
Serve with crackers or carrot sticks etc
And there you have it ... long winded I know, but well worth it! I love a good chance to entertain people and show off my mad kitchen skills!


No comments:
Post a Comment